Decoupage Nameplate - Volume
Hello crafty friends,
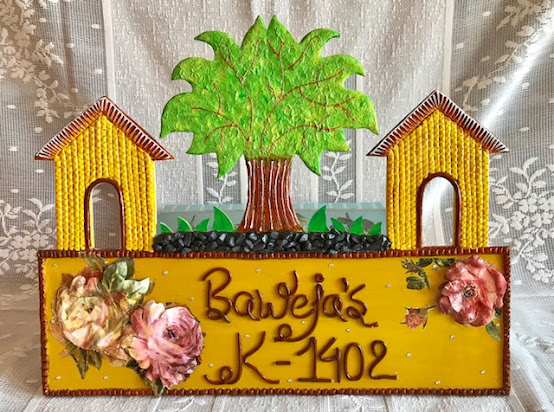
I'm back with yet another exciting volume decoupage nameplate.
Let’s start with this creation and its detailed step by step instructions:-
- First I sanded the board with a sand paper (though board was quite smooth).
- Next, I applied Little Birdie white gesso all over.
- Applied Little Birdie Chalk paints - Pineapple Lolly & Mango Crush.
- I have used Fevicryl mouldit epoxy compound for giving the texture on the hut, tree & the border of the board and also for writing the text on the board.
- Then I have taken a decoupage Napkin, tied its flower with the help of water & painting fine tip brush and pasted it on to the board with the help of Little Birdie Deco Magic.
- At this stage I thought that my project was complete, however, looking at my leftover paper pieces, I got an idea to further use that flowers somewhere on my design. So I did a volume decoupage.
- For this, I applied required number of flower design pieces on a sospeso sheet using sospeso glue. Once it dried, I fussy cut them and gave volume to my design using a tea light candle and a wooden embossing tool.
- Then using Little Birdie heavy gel medium, I fixed the butterflies in few places. You can finally see the result in the picture.
Hope you liked my project. For any queries feel free to ask me in the comment section below. I will be happy to reply! Thank you for stopping by. See you soon with my next post. Till then take care and happy crafting.


Comments
Post a Comment